When you follow up on chipped tooth repair, your actions in the days and weeks after treatment can make all the difference. Proper aftercare not only preserves the integrity of the repair but also helps you avoid discomfort, infection, or further damage. This guide walks you through what to expect after emergency treatment for a chipped tooth and how to support your recovery—from immediate home steps to monitoring healing and knowing when to call your dentist.
Understand post-repair care
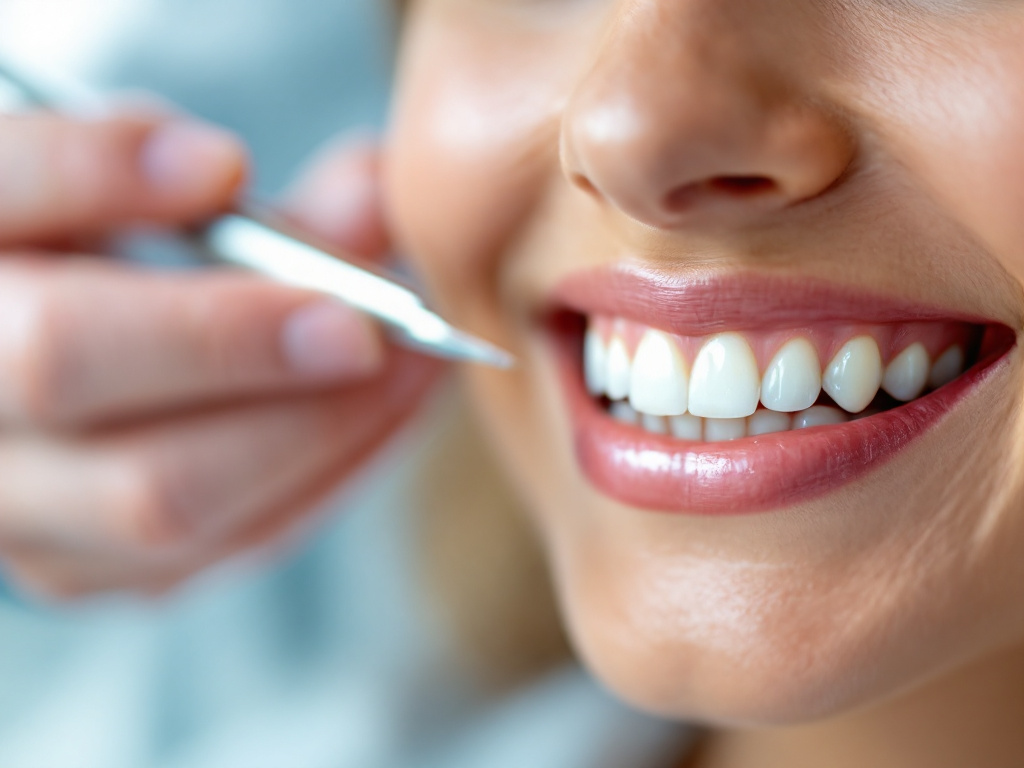
Chipped tooth repair can involve a range of treatments depending on the size and location of the damage. Minor chips may be smoothed and polished, while more extensive fractures often require dental bonding, veneers, or even crowns. In rare cases where the chip exposes the pulp, root canal therapy and a crown may be necessary to protect the inner tissues [1].
No matter which procedure you received, you’ll be given specific instructions by your dentist or emergency care provider. Following these guidelines helps ensure your enamel repair bonds properly, prevents bacteria from undermining the work, and reduces the risk of sensitivity. If you were treated at a clinic that offers post-procedure dental care, be sure to review their customized plan before you head home.
Maintaining a regular oral care routine is crucial once your repair is complete. That means brushing twice a day with a soft-bristle brush, flossing carefully, and avoiding habits like chewing ice or hard candy that can chip the repair. By understanding how your dentist fixed your tooth and what the finished repair needs to stay intact, you lay the groundwork for a smooth recovery and long-lasting results.
Take immediate home steps
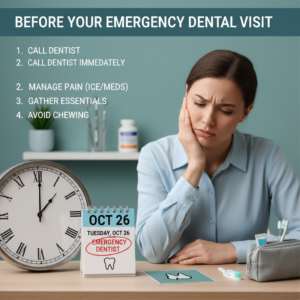
Before you even leave home, these first-aid measures stabilize your mouth and protect the repair site. Most of these steps can be done right after your emergency visit, and they set the stage for faster healing.
- Rinse your mouth gently with warm salt water to remove debris and soothe irritated tissues.
- Apply firm pressure with clean gauze or a tea bag to control any bleeding.
- Place a cold compress on your cheek for 10 to 15 minutes at a time to reduce swelling.
- Save any broken tooth fragments in wet gauze or milk to show your dentist in case they can be reattached [2].
Avoid aspirin or ibuprofen immediately before seeing the dentist, as blood-thinning effects can complicate procedures [3]. Once you’re home, follow any additional emergency dental post op instructions from your provider, such as elevating your head while sleeping or taking prescribed antibiotics.
Schedule follow-up appointments
Your dentist will recommend a series of follow-up visits to check on the repair, adjust bonding material if needed, and ensure no hidden damage has developed. Skipping these appointments can lead to complications like weakened enamel or infection.
Below is a typical follow-up schedule after a chipped tooth repair:
| Timing | Purpose |
|---|---|
| 48–72 hours | Confirm bonding integrity, assess swelling |
| 1 week | Check for sensitivity, polish rough edges |
| 1 month | Examine enamel wear and occlusion (bite) |
| 3–6 months | Evaluate long-term durability of the restoration |
If your dentist provided an emergency dental follow up appointment card, call as soon as you notice any discomfort or change in your bite. Even if you feel fine, these visits allow your provider to catch small issues before they become serious.
Manage pain and discomfort
It’s normal to experience mild sensitivity or soreness around the repaired area for a few days. Your dentist may recommend over-the-counter pain relievers, or in some cases prescribe a short course of stronger medication.
Over-the-counter options
Acetaminophen and nonsteroidal anti-inflammatory drugs (NSAIDs) like ibuprofen are effective for most post-repair aches. Take them as directed on the label, and space doses evenly to maintain consistent pain relief. If you have a history of gastrointestinal issues or kidney problems, consult your physician before using NSAIDs.
Prescription medications
For moderate to severe discomfort, your dentist might prescribe a mild opioid or a prescription-strength anti-inflammatory. Always follow dosing instructions carefully, and do not drive or operate machinery if you feel drowsy. Most prescriptions are for short-term use—usually no more than three to five days—to bridge the gap until the tooth settles.
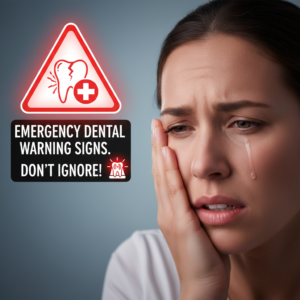
If your pain intensifies after the first week or you develop throbbing pain that wakes you at night, reach out for dental pain relief after emergency guidance. Persistent or worsening pain could signal an infection or a bonding failure that needs professional attention.
Follow dietary guidelines
What you eat in the days following repair plays a major role in protecting the restoration. Immediately after treatment, favor room-temperature, nutrient-rich, and easy-to-chew foods.
Start with items such as:
- Soft fruits like bananas or applesauce
- Dairy products like yogurt or pudding
- Cooked cereals and smoothies
As you feel more comfortable, you can incorporate tender proteins like scrambled eggs or ground turkey. Steer clear of anything crunchy, hard, or sticky—nuts, chips, caramels, and popcorn all pose a risk to the repair. Avoid extremely hot or cold beverages for at least 24 hours to limit sensitivity.
Over the next week, gradually reintroduce firmer foods. If you notice pressure on the repaired tooth causes discomfort, slow down the transition and stick with softer fare until your dentist gives the all-clear. For more detailed meal ideas, see our guide on diet after emergency dental procedure.
Maintain oral hygiene
Gentle but thorough cleaning of your repaired tooth helps prevent plaque buildup around the bonding or crown margin. Interruptions in your routine can let bacteria accumulate and undermine the repair.
Brushing technique
Use a soft-bristle brush and a nonabrasive toothpaste. Angle the bristles at 45 degrees toward the gum line, gently massaging the repaired area without putting excess pressure on the tooth surface. Rinse your brush after each use to remove any residue.
Mouthwash use
An alcohol-free antiseptic rinse, used once daily after brushing, can reduce bacterial load without irritating sensitive tissues. Wait at least 30 minutes after eating before rinsing to allow enamel remineralization. If your dentist suggested a specific oral rinse & healing advice protocol, follow it closely.
Flossing
Floss daily, sliding the thread gently up and down beside the repair. Do not snap or force the floss, especially around bonded areas. If you find this difficult, consider a soft-pick or water flosser for a gentler approach.
Monitor your healing progress
Healing timelines vary, but most patients see a significant reduction in sensitivity and swelling within one to two weeks. Use these checkpoints to gauge your recovery:
- Day 1–3: Expect mild soreness when chewing and slight gum inflammation.
- Day 4–7: Discomfort should ease, and the repair feels more stable.
- Week 2–4: Your bite should feel natural, without awareness of the repair site.
If you experience persistent swelling, unusual discoloration around the repair, or a loose feeling in the tooth, these may be warning signs. Keeping a journal of any symptoms can help your dentist diagnose issues more quickly during your follow up emergency dental visit.
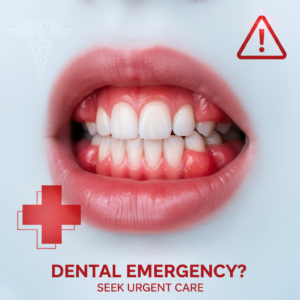
Know when to seek help
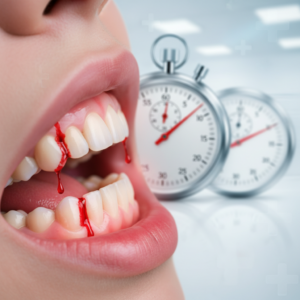
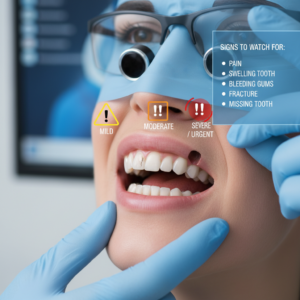
Even with perfect aftercare, complications can arise. Contact your dentist immediately if you notice any of these red flags:
- Sharp or shooting pain when biting down
- Continuous bleeding or oozing around the repair
- Visible gap between the repair and natural tooth
- Pus or foul taste, indicating possible infection
- Sudden loosening of the bonded or crowned piece
Prompt intervention can save you from more extensive procedures such as root canal therapy or re-crowning. If you’re unsure whether your symptoms are urgent, err on the side of caution and call for an emergency dental recovery plan.
By taking these steps—following home-care protocols, attending follow-up visits, managing discomfort, adhering to dietary guidelines, and monitoring your healing—you give your chipped tooth repair the best chance of lasting success. With careful attention and timely professional input, you’ll protect your smile and avoid future complications.